Lady Bear - the glass horse
In February 2024 Brian, my best friend’s husband, approached me to ask if it was possible to do a portrait, in glass, of Brenda’s horse Lady Bear. I really wasn’t sure that I could but I was definitely up for the challenge.
This is the story of that process. Oh yes, I almost forgot… This was to be a big, secret, surprise! Brenda was not to know.
I followed a series of techniques created by two amazing artists (Tim Carey and Narcissus Quagliata) who are at the forefront of working with fused glass in a painterly fashion. Having painted and drawn for most of my life I knew that this technique would be exactly what I was after. I purchased A PAINTERLY PORTRAIT IN GLASS and I was off!
The first step was to create an image of Lady Bear to lay underneath a clear sheet of glass. I needed to make the image my own and not simply a copy of the photo. I’ve been with Lady Bear many times and her colour changes with the season and light. I needed a portrait of Lady Bear. Using a grid technique I drew the correct proportions and worked out my tonal scheme i.e. where the darks and lights were.
The magic began when I coloured the drawing!
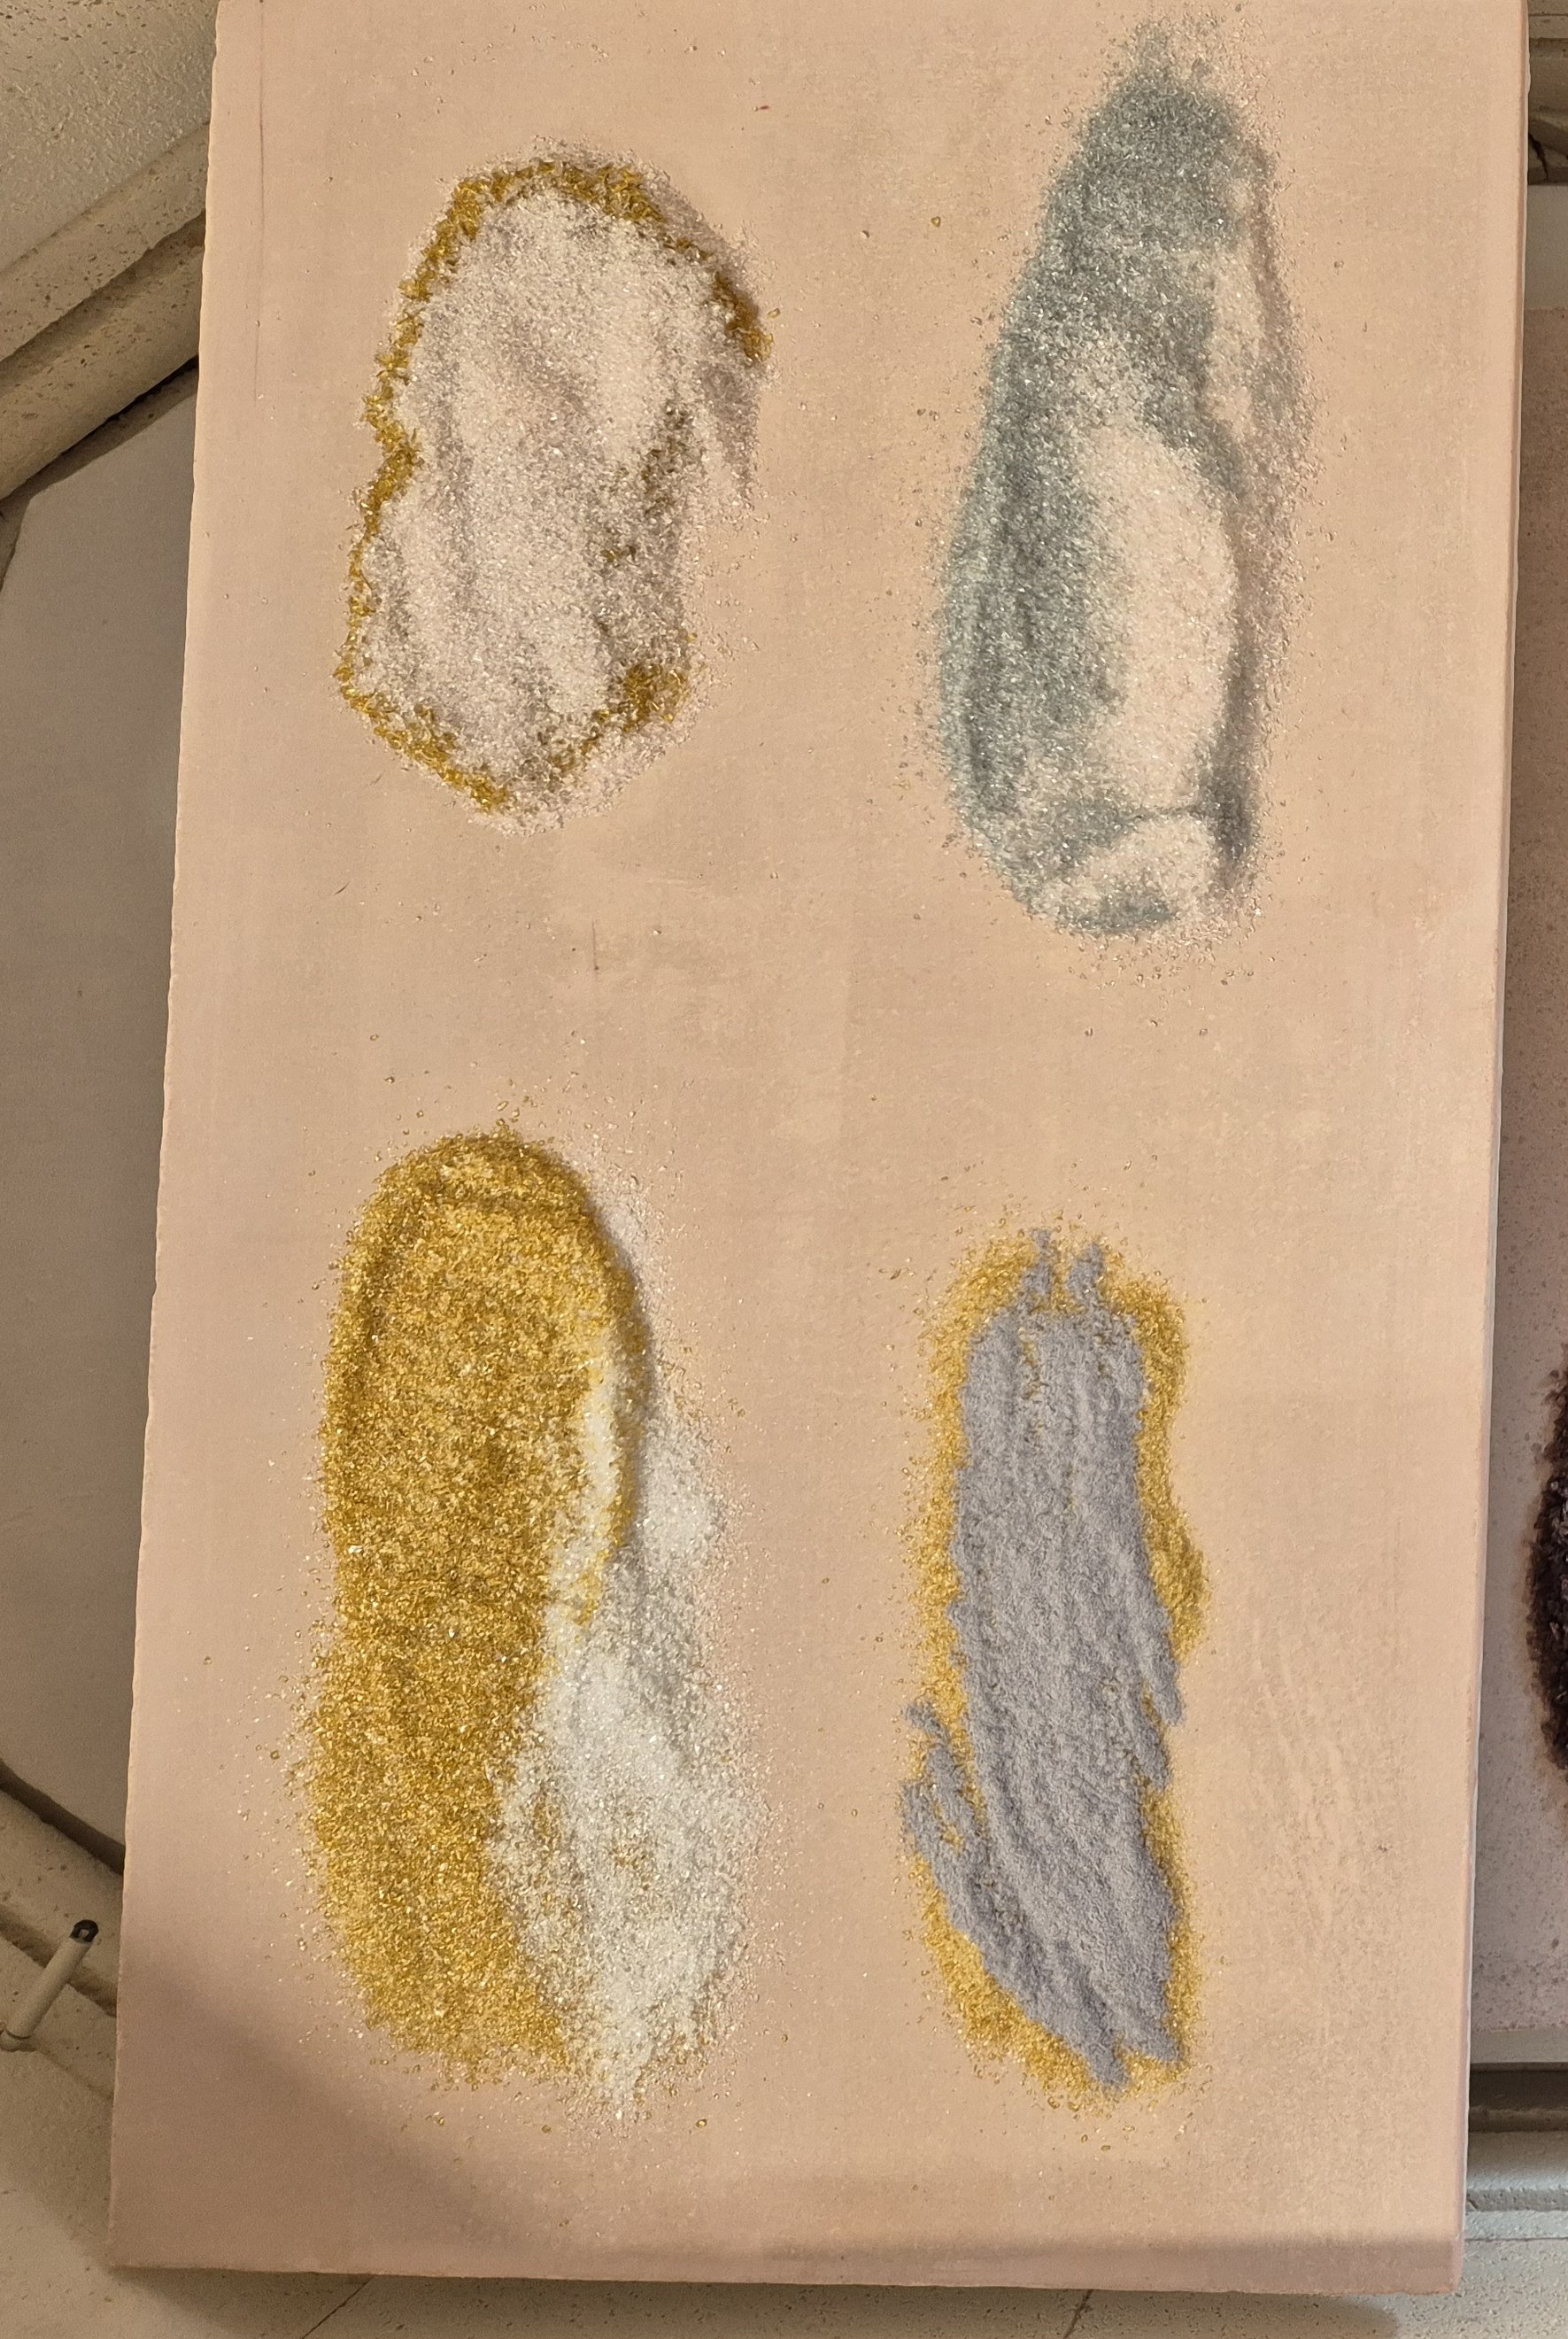
The next major step was to create glass to use in the portrait. Instead of directly using various pieces of factory coloured glass I needed to ‘make’ the colours meld and flow together in a more-or-less random way. I tried to design the colours and textures of glass that would then slide into each other down a tilted kiln shelf - called sliders!. This involved a lot of experimentation. You’re not sure what colours will emerge from the kiln with overlaid pieces of glass, crushed glass (frit) and powder. The result is a fairly thick sheet of amazingness!
A second technique to create the colours was to use frit and powder to make lacey glass. The images below show some before and after photos of the firing processes.
Once I had material to work with I found and cut pieces that suited different sections of the piece. It was not particularly easy to cut some of the pieces which ended up being between 6 and 9 mm thick! Every now and then I would lay out an overall pattern of glass to make sure that I was still following the tonal variations and to check I was on track. I chose and cut the ear pieces very early on which created a stable area to work off.
Notice the difference between the image when the light table is on or off. The only opaque piece is the white which will become Lady Bear’s white mark. It’s almost impossible to see if the light is on.
Slowly, but surely, the parts and pieces became more refined. Some pieces stayed and some were discarded. I was always checking and checking some more - back to the drawing and the photo. The next step was to think about the background. I also began to realise that the portrait worked better without the light behind. Although it produced an exciting horse, it wasn’t Lady Bear!
The first firing was nerve-wracking! Glass can change in the kiln depending on chemical reactions, number of times it’s been fired, the kiln gods, experimentation and inexperience. All along the way I would fire test pieces in a small kiln, especially when it came to the background.
I deliberately left off some pieces and details for a second firing. There were some challenges when it got to this stage and I didn’t want to chance a third firing. I finished the piece off with a series of cold-working (not hot in the kiln) techniques to achieve a beautifully smooth, matte finish.
I’m thrilled to say that the secret was kept the whole year and Brenda received her gift in December. She was blown away! It’s now proudly displayed in her home.


